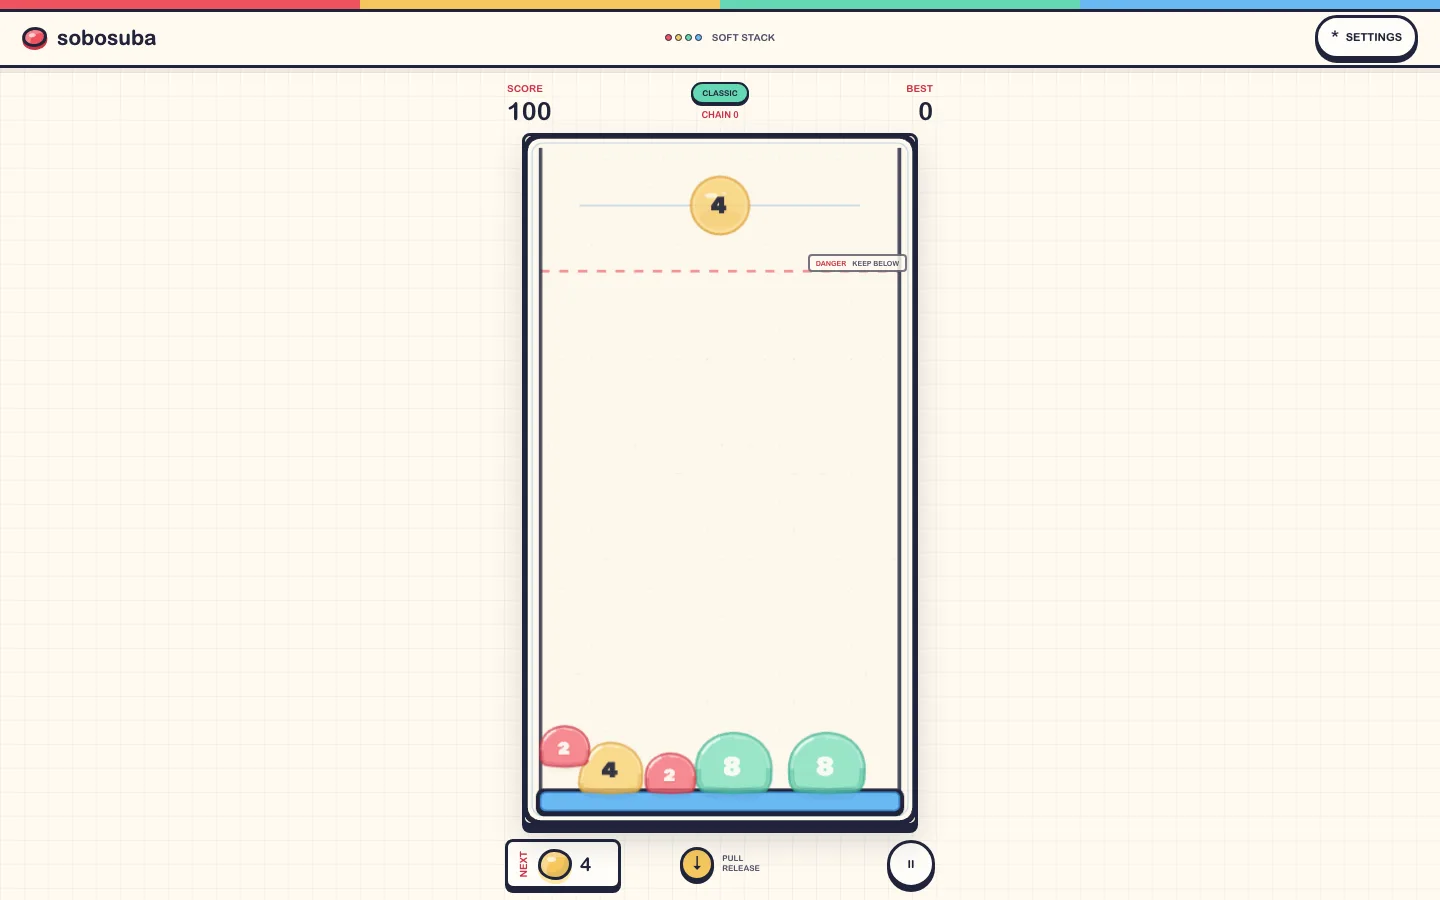
The central strategy: preserve options
Every sobosuba shot changes two things at once: the value layout and the physical shape of the pile. A move that scores immediately can still be poor if it traps a useful 8 under three unmatched pieces. The strongest move usually creates a merge while leaving more than one safe target for the next jelly.
Think of the container as a set of routes rather than fixed columns. A low central route reaches many targets. A side route can store a small sequence. A shallow pocket may catch one exact value. When every route closes, even a favorable next value becomes difficult to use.
Decision order: read CURRENT, read NEXT, identify equal values, then choose force. Do not decide force before you know the job of the shot.
Choose shot strength deliberately
Use a gentle shot for placement
A short pull is the default strategic tool. It keeps the landing close to the aiming line and limits movement elsewhere in the pile. Use it when the matching value is visible, when a prepared pair must remain aligned or when the upper stack is already unstable.
Use a firm shot for access
A longer pull is valuable when a match sits across the board or behind a soft obstacle. Momentum can squeeze through a narrow contact, roll a jelly down a slope or push a blocker away. The risk is that the same impact travels through the support network and disturbs several good positions.
Use force as a recovery tool
When no clean match exists, aim a firm shot low rather than at the highest point. A low impact can shift the base, open a seam between jellies and lower the overall stack. A hard shot near the danger line is more likely to produce upward rebound, which is exactly what a crowded board cannot afford.
Build a playable pile shape
A broad, stable base is safer than a narrow tower. Put larger values lower when possible because they occupy more space and transfer more load. Small values can sit above them temporarily, but clear those small singles before they form a cap that blocks every route below.
Do not chase a perfectly level surface. A shallow valley can guide a shot toward a match. A gentle slope can roll a new jelly into a lower pocket. What matters is visibility and access: you should be able to name at least one reachable match and one area that can receive an awkward value.
Edges are useful but limited. A side wall stops horizontal movement and can stabilize a sequence, yet a large jelly wedged high against the wall is hard to attack from the outside. Store smaller values near an edge and avoid building a permanent tall column there.
Plan with the NEXT preview
The preview turns sobosuba from a reaction game into a two-move planning game. Suppose the current piece is 2 and NEXT is 4. If two exposed 2s are available, prefer the merge that creates a new 4 in a reachable position. Your following shot can then continue the sequence instead of starting another isolated group.
The preview also tells you when not to merge immediately. If the current shot can complete a pair but would cover the only target for NEXT, place it elsewhere or approach from a different angle. One delayed merge is often worth more than a blocked future turn.
When the preview has no visible partner, create a buffer landing. Choose a low-risk area where that value will remain exposed. Do not bury it at the base unless it completes a planned sequence; buried singles become long-term debt in the pile.
Prepare chain reactions
A chain happens when merges follow one another before the board fully settles. The reliable way to create one is to arrange neighboring stages of the doubling sequence. For example, merge two 2s near an existing 4; the new 4 may then touch its match and become 8. If that 8 is also prepared, the sequence continues.
Build chains from low to high values. Smaller jellies are easier to place and their merge can remove support beneath larger pieces. That settling motion brings prepared matches together without requiring another shot. Building from the top tends to add energy near the danger line and can scatter the pieces you hoped to combine.
Do not force a chain by firing at maximum strength. Speed may create contacts, but it also separates them. Preparation is more important: adjacent equal values, a stable boundary and room for the merged jelly to expand.
Recover near the danger line
- Pause and scan low. A base merge lowers more of the pile than a small merge at the top.
- Prefer removal over storage. Take a safe equal-value contact even if it is not part of your ideal chain.
- Protect against rebound. Use less force near exposed upper jellies.
- Open one lane. You do not need to fix the entire board in one shot; you need a route for the following shot.
- Accept an imperfect landing. A visible unmatched value is better than a risky impact that raises the whole stack.
If the pile is oscillating, let it settle before releasing. A target moving downward may be easy to reach a moment later, while a target moving upward can turn a planned contact into a miss.
Common sobosuba strategy mistakes
Always shooting hard
Maximum force feels active but removes control. It converts a placement problem into a board-wide physics event.
Ignoring unmatched small values
Several isolated 2s take more room than one 8 and block access. Clear small clutter while the board is open.
Watching only the current piece
The next preview is strategic information. Ignoring it repeatedly creates avoidable dead ends.
Building a high side tower
The wall makes a tower look stable, but the outer side cannot be reached. A high value there often becomes a permanent obstacle.
A focused practice routine
For one run, commit to short pulls unless no target is reachable. On the next run, say the job of each shot before releasing: merge, store, open or recover. Then practice reading CURRENT and NEXT as a pair. These constraints make the effect of each decision easier to see than simply chasing a new best score.
If pile movement still feels surprising, continue with the sobosuba soft-body physics guide. New players should first read how to play sobosuba for the full control and scoring explanation.